Add Celo Network to MetaMask
To participate in Polkastarter IDOs on the Celo Network, you’ll need to add Celo to your MetaMask. Here’s a quick and simple step-by-step tutorial on how to add the Celo network on MetaMask:
1- Download MetaMask from their official website. They have a browser extension that works on Chrome, Firefox, Brave and Edge, and a mobile iOS and Android app.
2- Create a wallet by following the instructions. Once you get to the backup seed phrase, make sure to write it down on a piece of paper rather than storing it on your computer or phone.
3- Congratulations! You’ve just created a MetaMask account. It should look something like this:
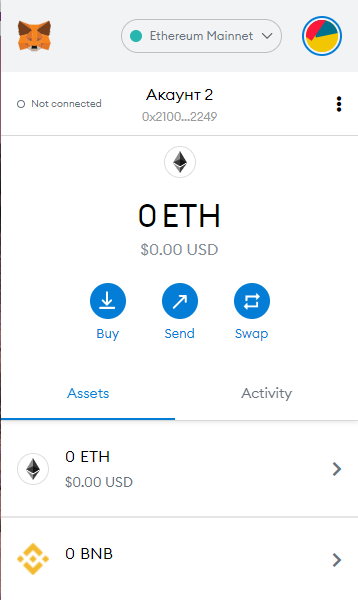
4- As you can see, the default network on MetaMask is set to the Ethereum Mainnet (top right). Let’s now add Celo to the list.
5- Click on Networks, select ‘Custom RPC’ and you should see this menu pop up:

6- Input the following info in the boxes:
- Network Name: Celo (Mainnet)
- New RPC URL: https://forno.celo.org
- Chain ID: 42220
- Currency Symbol (Optional): CELO
- Block Explorer URL (Optional): https://explorer.celo.org
7- You are all set! Well done.To participate in an IDO, you’ll need to send the Celo token to your MetaMask.
Here’s how you can do that:
1) Buy CELO via an exchange. The coin is listed on many exchanges such as Binance, Coinbase, Gate.io, KuCoin and Bittrex.2) Send it to your Metamask account on the Celo network. Where it says “Address”, put your address.
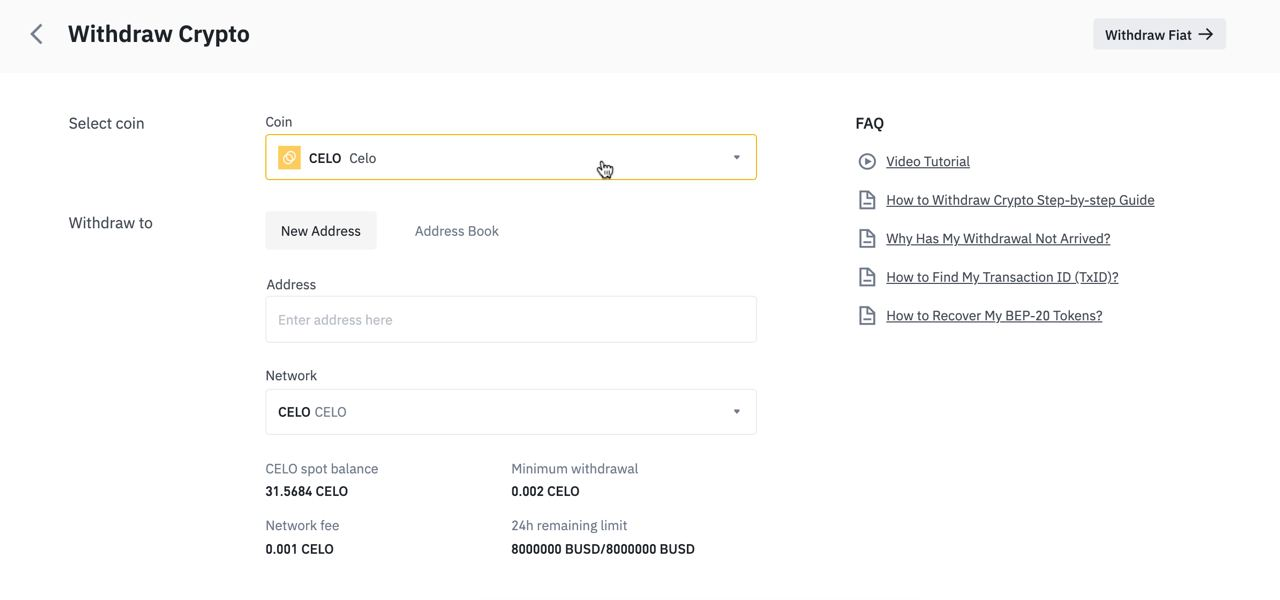
3) Here’s where you can find and copy your address.
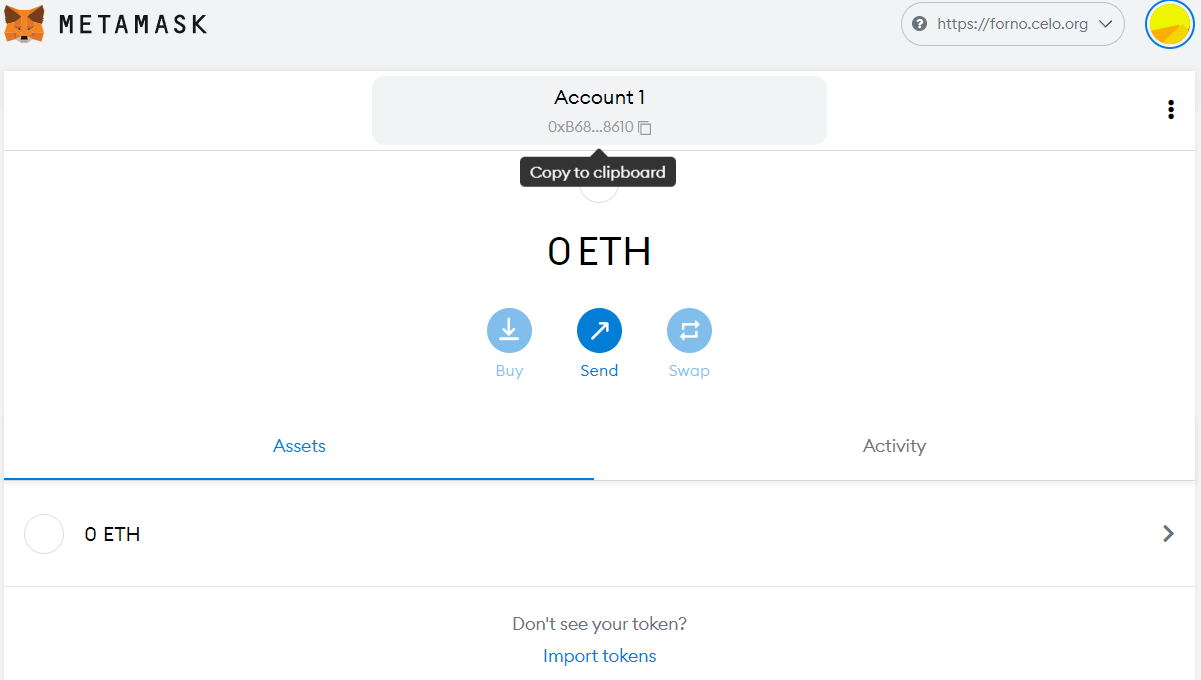
4) Send CELO to your MetaMask
5) Congratulations! Now you can participate in Polkastarter IDOs on the Celo network.